I’m new to texturing and to Instamat as well, as can be seen.
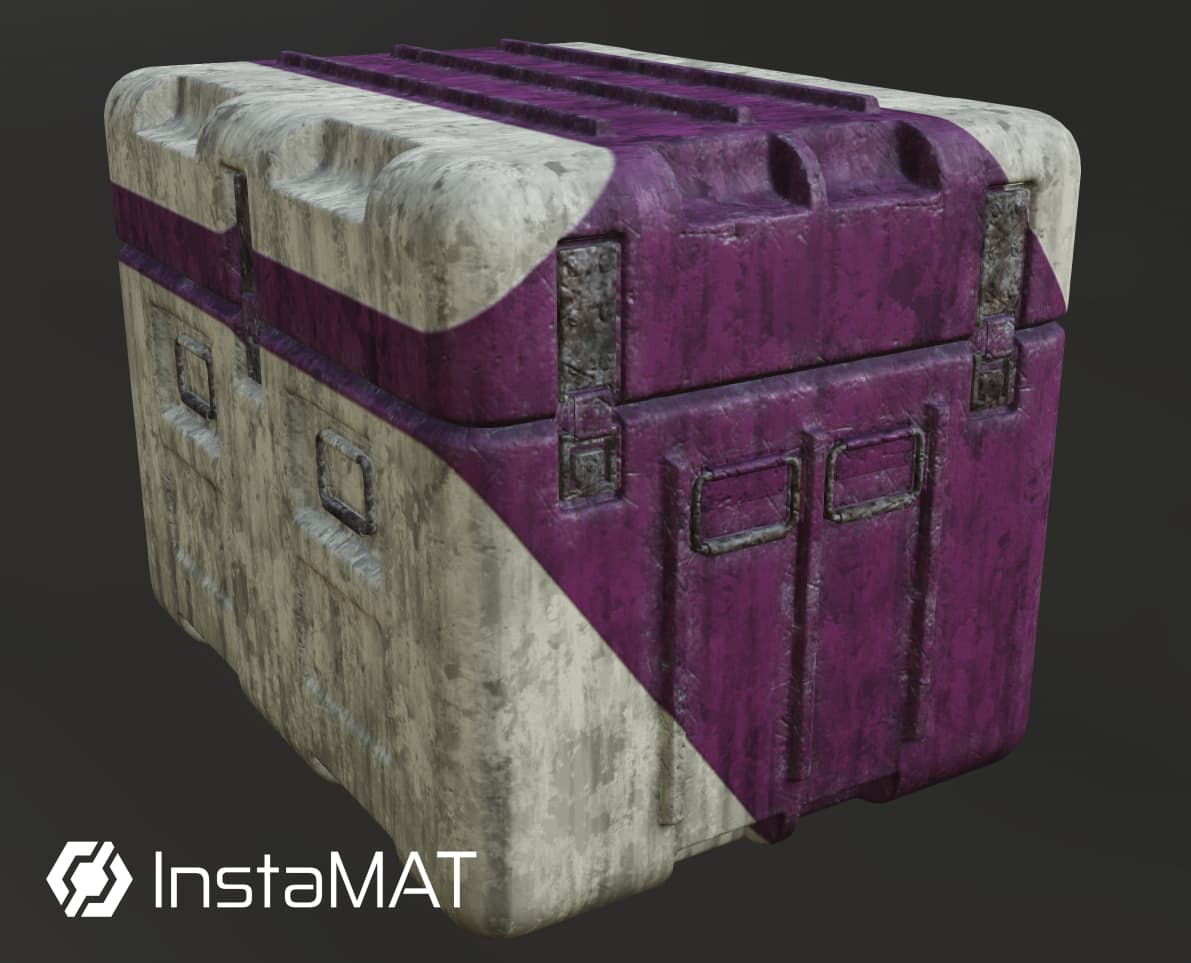
I followed the crate tutorial, at 2048 x 2048 16bpp execution settings. To me textures did not look crisp/sharp, like in real objects.
I thought it might be viewport default settings to speed up the responsiveness and preview while working.
I exported the texturing Project with the “Export Image and Data outputs” option, and the default settings.
In Blender I imported the Fbx mesh and used INSTAMAT for Blender Addon to apply the textures to the crate. To do so, I selected the exported texture package in the addon, chose “Add an instance of the material to the Instances list” and it automatically applied the material textures.
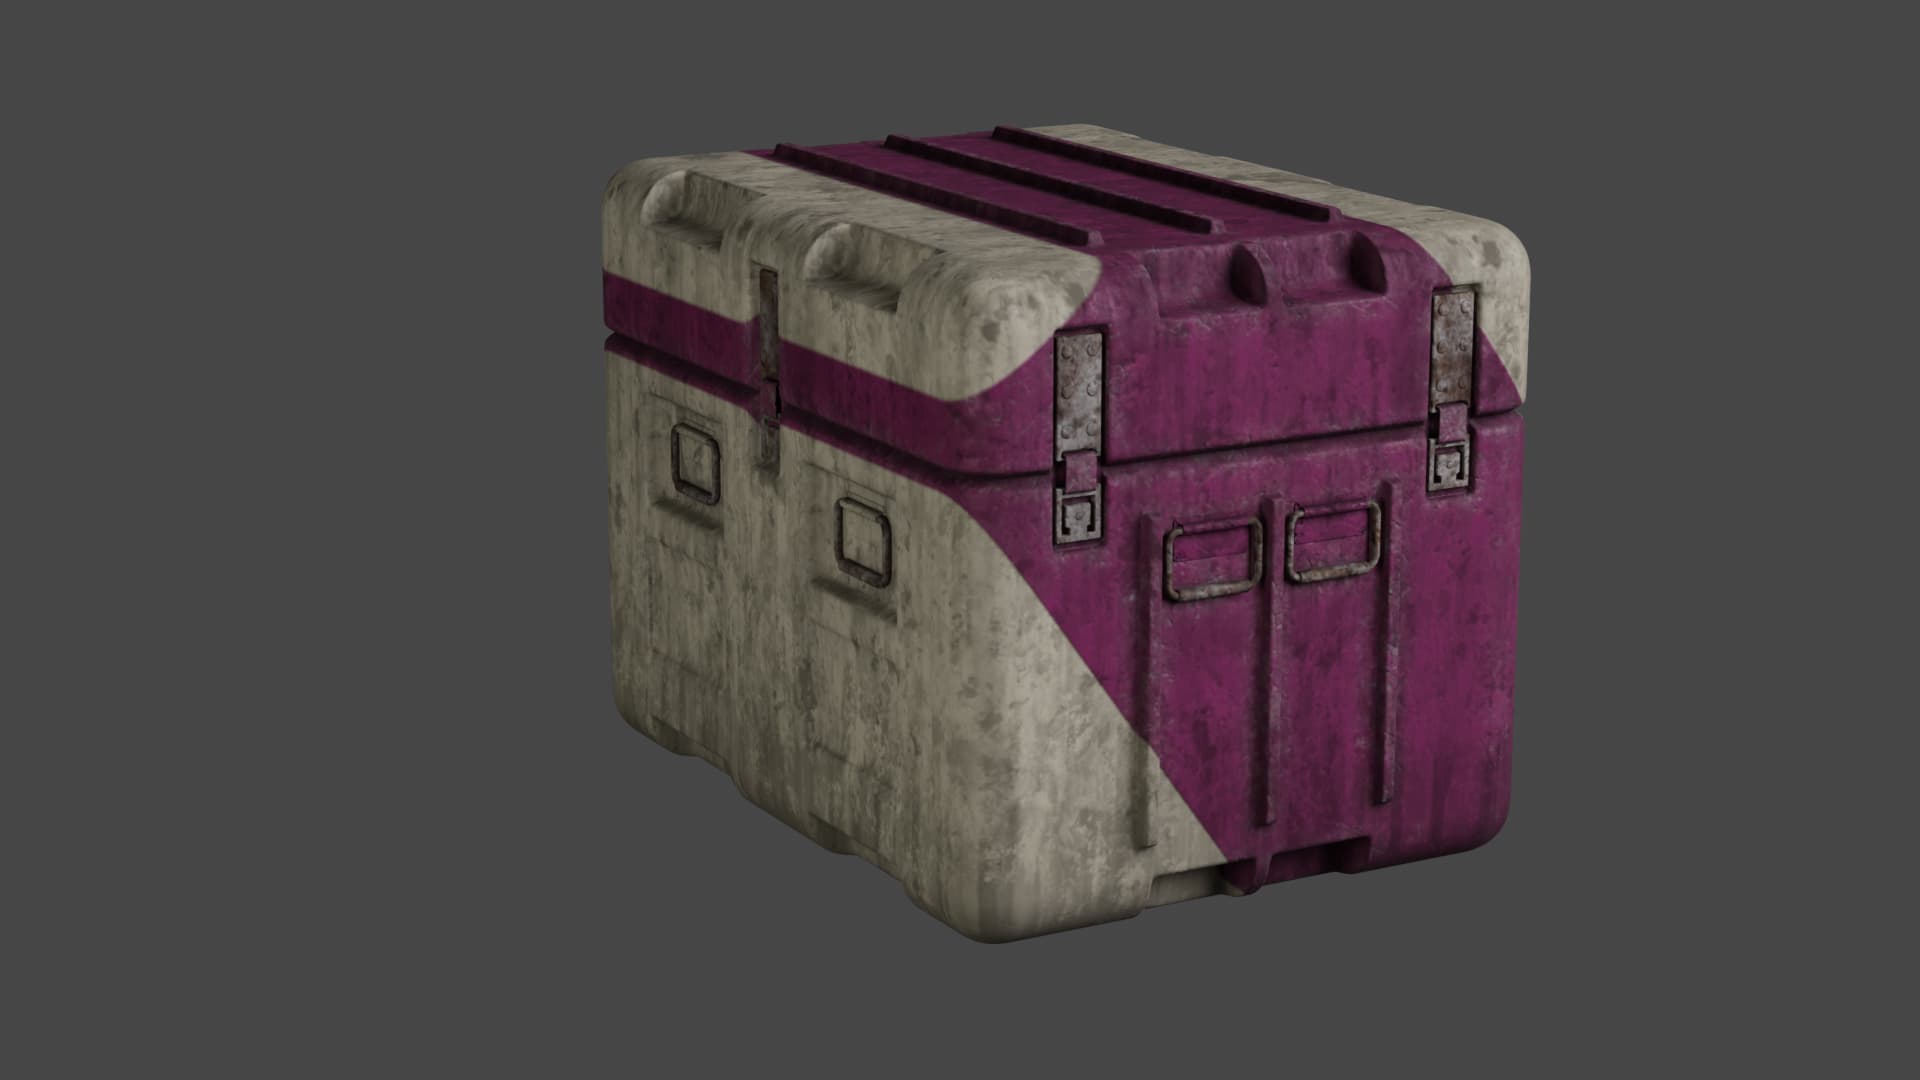
The result, apart from more visible seams, looks as uncrisp/sharp (or even worse) as in Instamat’s viewport. Take Mesh Edgewear, for example. Rendering it makes no difference.
I understand the lighting in Blender on my side, is dull, but nonetheless.
¿Is it a condition of the type of Project, meaning it seems like a tutorial thought for game assets, and therefore it’s the result to expect?
Is it something exclusively depending on the execution settings?
Are there other factors to consider? What can I do on Instamat’s side? Does someone have some advice for Blender?
This is a tricky question because it depends on several factors. To achieve truly crisp details, texel density plays an important role.
It all starts with the UVs: the more space your UV shells occupy in the 0–1 UV range, the more detail you can pack into them—and therefore into your textured model. Texture resolution also matters here. Naturally, a 4K texture allows for more fine detail than a 2K or 1K texture.
This is a general topic and not specifically tied to InstaMAT. Achieving the right texel density depends on your asset, how it will be used, and its purpose.
For example, in games, background objects or assets that are never viewed up close don’t need the same level of texture detail as hero assets that appear directly in front of the camera. Objects often use multiple LODs, and the closer the camera gets, the higher res the LOD—and therefore the texture resolution—that will be used.
If you want an asset to contain the highest level of detail possible, ensure your UVs are cleanly unwrapped and occupy as much of the texture space as they reasonably can. You should also work in higher resolutions while texturing, 2k being somehow the sweatspot. But again, depents on the usecase. In games, compromises are usually necessary due to performance limitations, whereas offline rendering offers much more freedom, thus higher res models and textures.
Additionally, you can use UDIMs to increase the available texture resolution even further, or split your model into multiple material sets to distribute detail across different parts of the mesh. But this will have an influence on realtime performance.
Hi @debe,
Thank you very much. I’ll look around a bit for more info and come back soon.
I suppose, from what I read in your reply, that if texel density is not high enough, increasing the execution settings in Instamat makes no big difference, because it might be something like trying to apply a fine texture displacement to a model with too low subdivisions?
Well, increasing the execution resolution will always result in more and sharper details, but at the same time, it will be heavier on your execution in e.g. a real-time engine and also in InstaMAT. It really depends on the usecase and what you are planning to do with the model/textures.
For real-time you’ll always want to try to make everything as light as possible with the most detail at the same time. For offline rendering, you are a bit more free.
It’s tricky to give good tips without knowing where your endresult will be rendered.
Thank you again debe!
I’ll have to learn quite a lot more about texturing. I found an old (Substance Academy) video about texel density, a first step for me.
Another vid, not by Substance, bit more therory and probably more thorough, just in case someone else is a bit lost:
What I wanted is to achieve realism with the “Sci-fi Crate tutorial” on InstaMAT 's youtube, as an execise. Realism like for hero still renders. I would render in Blender Cycles.
Hopefully InstaMAT’s youtube tutorials palette might expand into more of the teaching field in the future.
Maybe I haven’t watched enough of them. Till now to me some feel, though they are very interesting, a bit more “show app capabilities” oriented, which is obviously necessary and valuable.
I learn watching them, but I still miss a bit the teacher side in them.
Maybe it’s being unfair to expect this from Abstract.
I will stick to Instamat anyway, and maybe try to “translate” Substance videos knowledge in the meantime.
Hi @debe,
Discovered your Youtube Channel, a great companion to Instamat’s one, and yours’ has this step by step, taking the time it needs teaching spirit, that is so helpful. Thank you!
I think the for your texturing journey, the things you want to achieve come with time. The technical difficulties aside, learning and rinse and repeat is key. You’ll always find things that can be improved with more experience and with every project you’ll see more and more improvement.
As for translating knowledge from other tools, I think this is very possibly as the key concepts will apply and also the general approach to texturing assets in general.